Preparation and installation
To test the API we recommend the usage of the software "Postman" (free of charge) in combination with our testsuite. Please follow the step by step instruction to collect all information and get best examples to transfer these into your productive environment.
Shown here is the usage of the return API. The general procedure to insert the testsuite into your Postman Suite is equal to all APIs, you only have to download the specific testsuite for the API you want to use, e. g. Pickup (instead of Return), Shipping (instead of Return), etc.
-
Download the latest version "Postman": Postman API Platform | Sign Up for Free
-
Download the testsuite out of the "Download Section" (you will find it in the navigation bar)
-
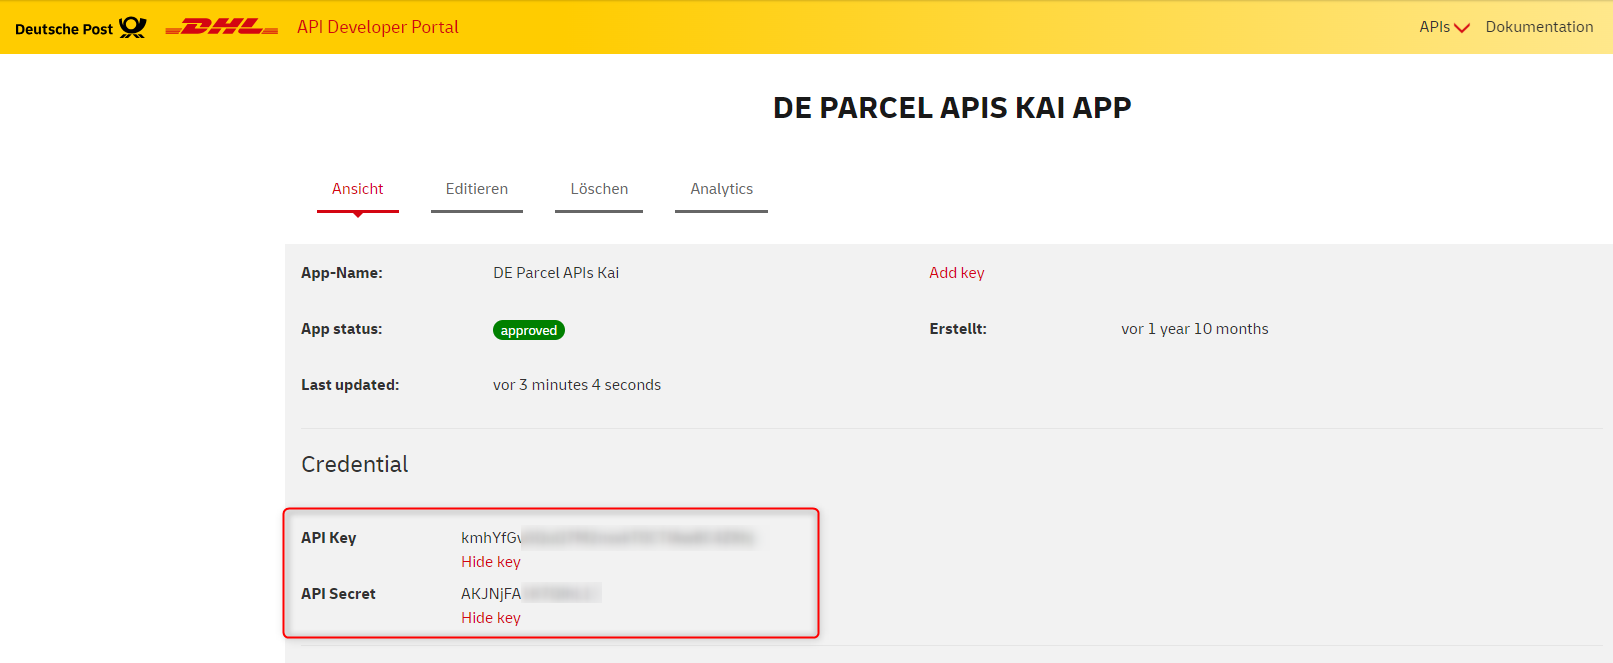
Keep your credentials available
If you have not yet got API key and API Secret as shown please follow the "Get Access" process (see also navigation bar) -
Important: Press "save" after entering the credentials
After installing Postman, the following steps are required:
-
Start Postman
-
Import the previously downloaded testsuite (*.json) into the Postman program by clicking on "Import":

The Import window opens: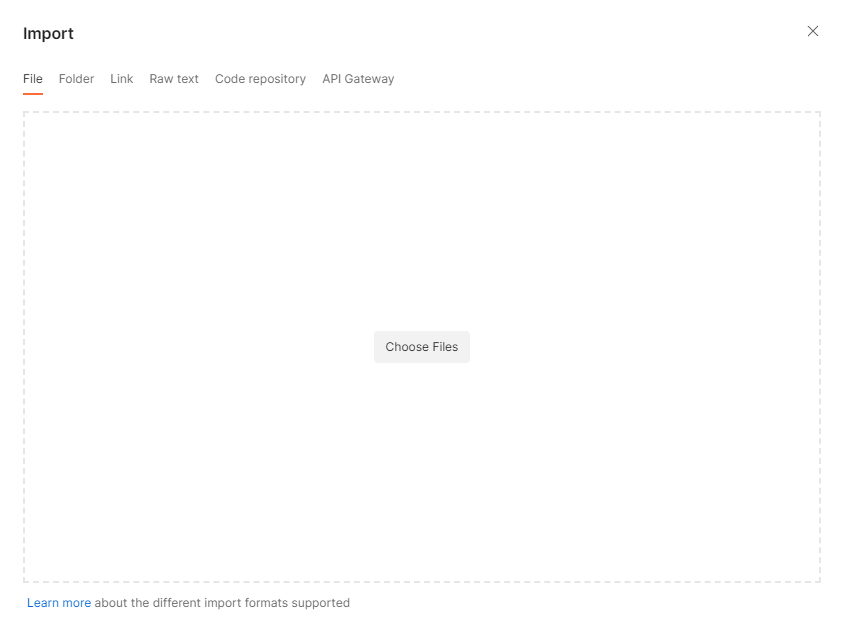
by clicking on the button "Choose Files" your local explorer opens. Select the testsuite you have stored and click "Import: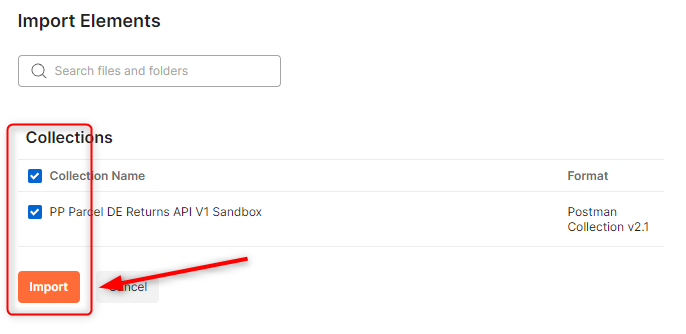
The test suite is now located on the left under the "Collections" tab.
Configuration (Authentication "OAuth2")
We are currently converting all Post & Paket Germany APIs to the OAuth2 authentication method. You can find out whether your API is already supported in the respective API reference description. Note: The configuration for the Basic Auth connection is described separately below.
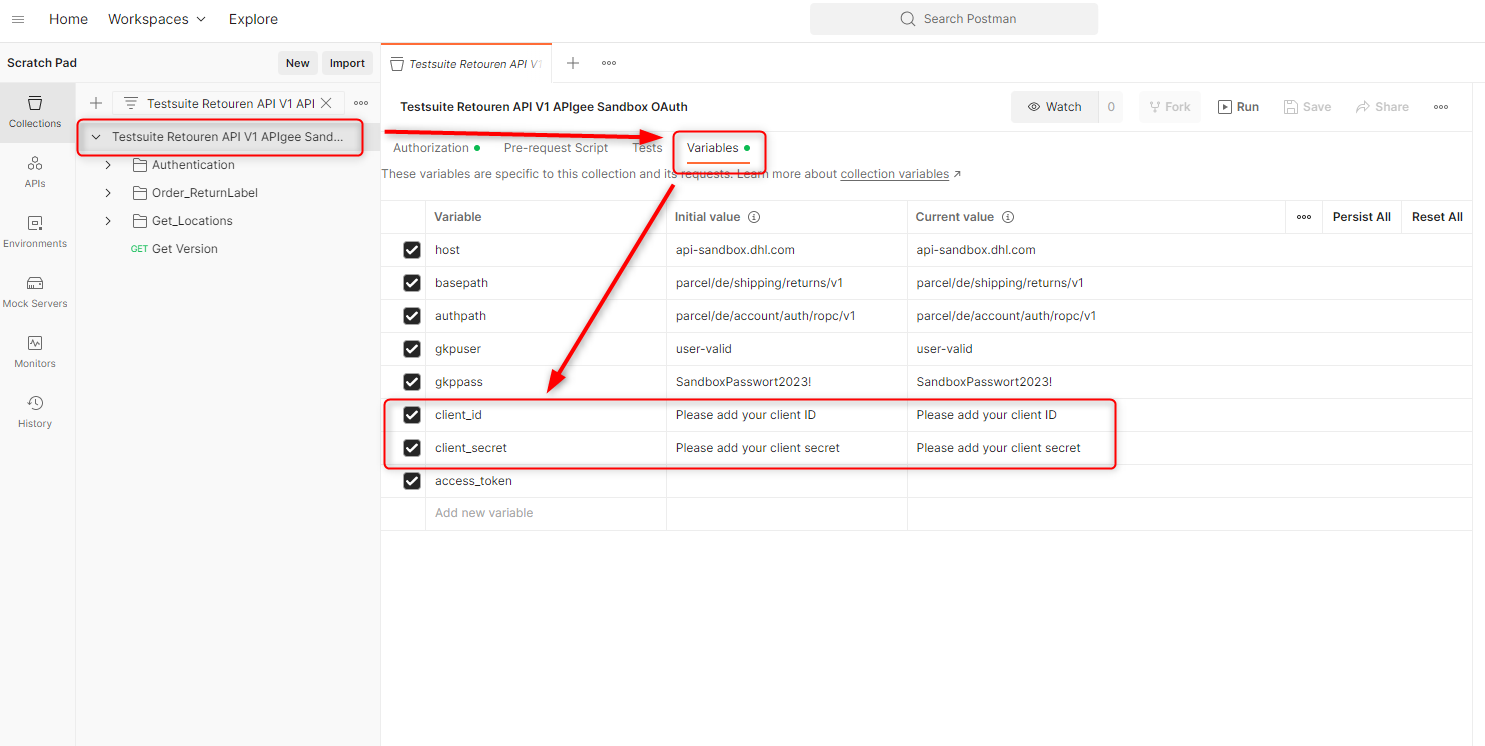
3. Click on the imported testsuite and expand the menu structure by clicking on the expand (">") sign: You get the structure of the imported testsuite with all testcases.
You can now add the necessary data client_id (API Key) and client_secret (API Secret) for all testcases by clicking the headlines on the right half of the screen. Shown here is the example for "Variables" with your credentials from the "Get Access" process:
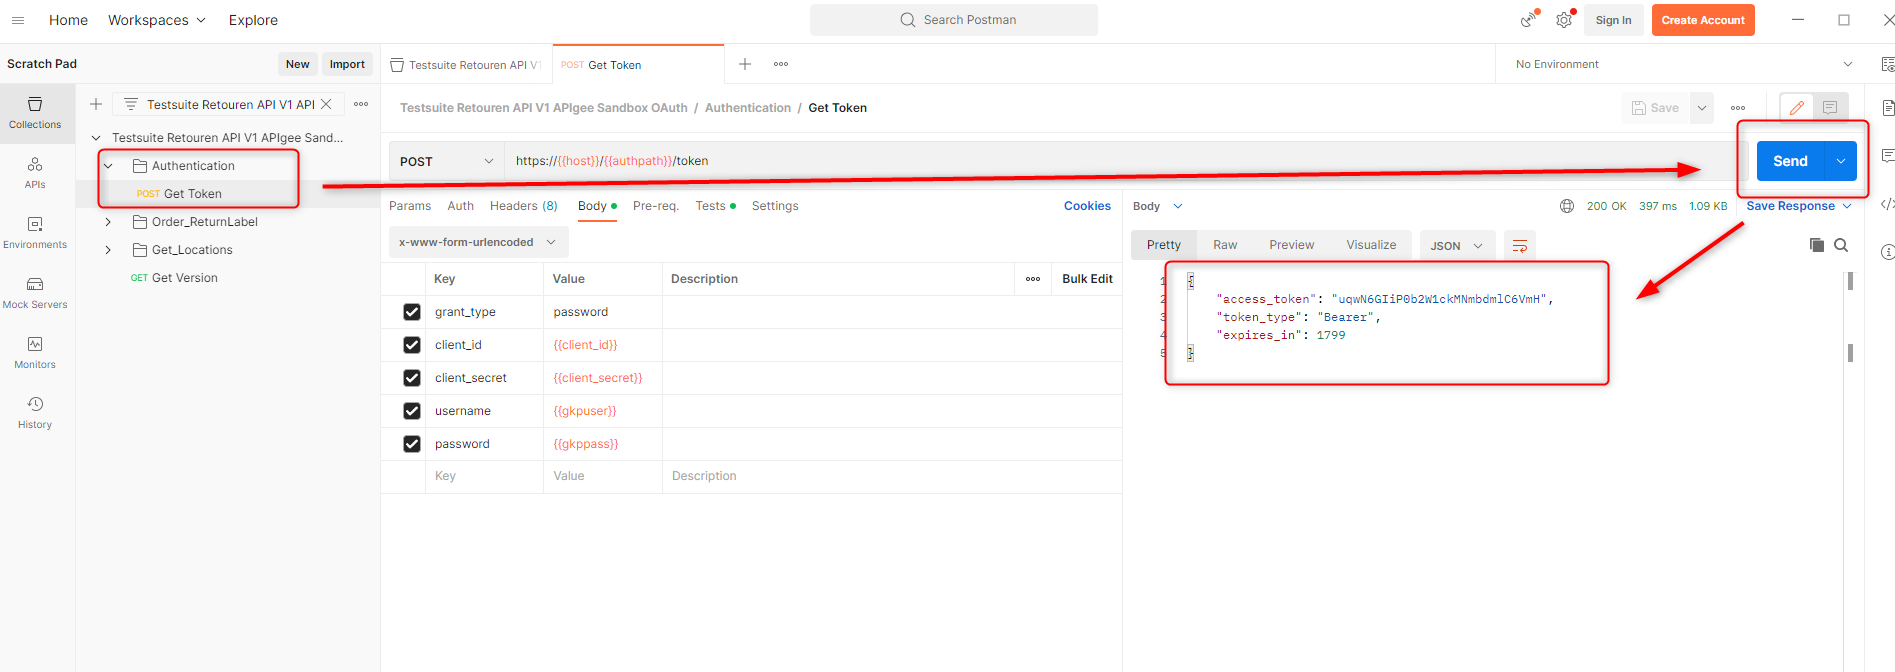
4. Get your OAuth2 access_token now. The access_token is automatically saved in the Postman variables for further requests. The validity of the access_token is displayed and is usually 30 minutes.
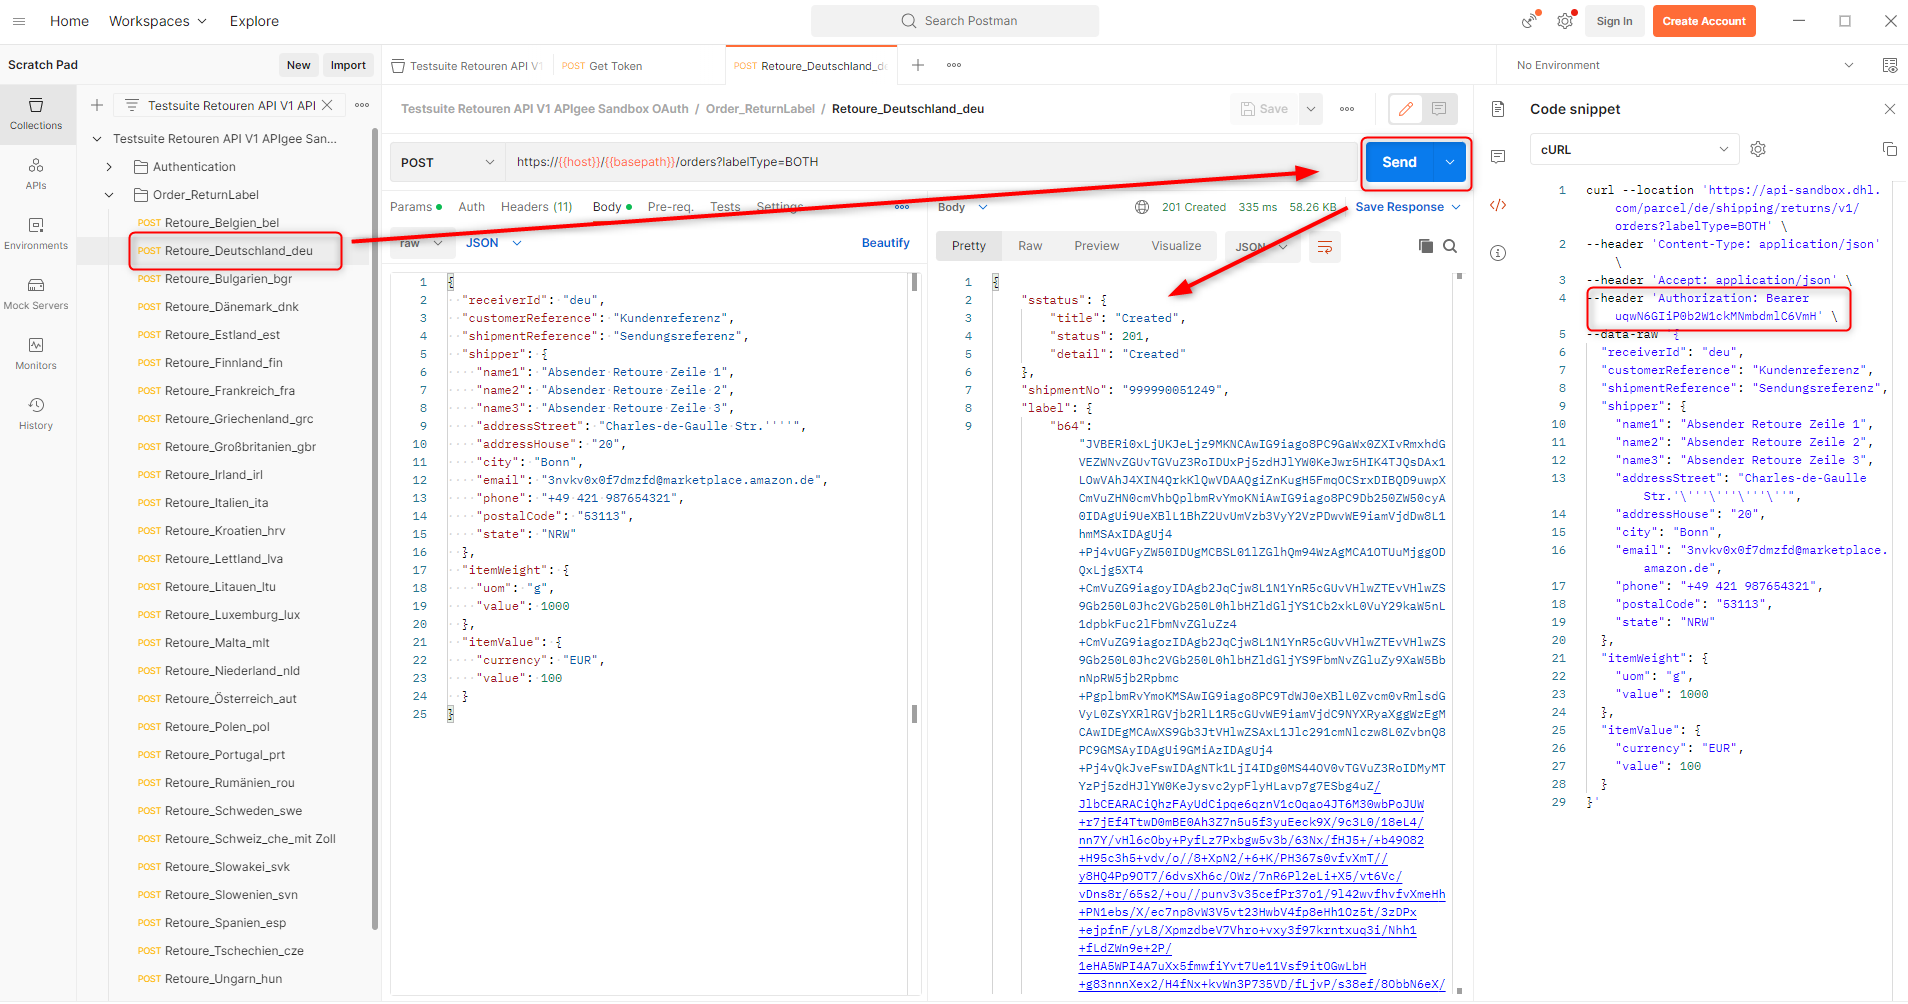
5. You can now make business queries. By using the access_token just generated, a returns label with the sender country Germany is created in this example.
Configuration (Authentication "Basic Auth")
3. Click on the imported testsuite and expand the menu structure by clicking on the expand (">") sign: You get the structure of the imported testsuite with all testcases.
You can now add the necessary data for all testcases by clicking the headlines on the right half of the screen. Shown here is the example for "Variables" with your credentials from the "Get Access" process: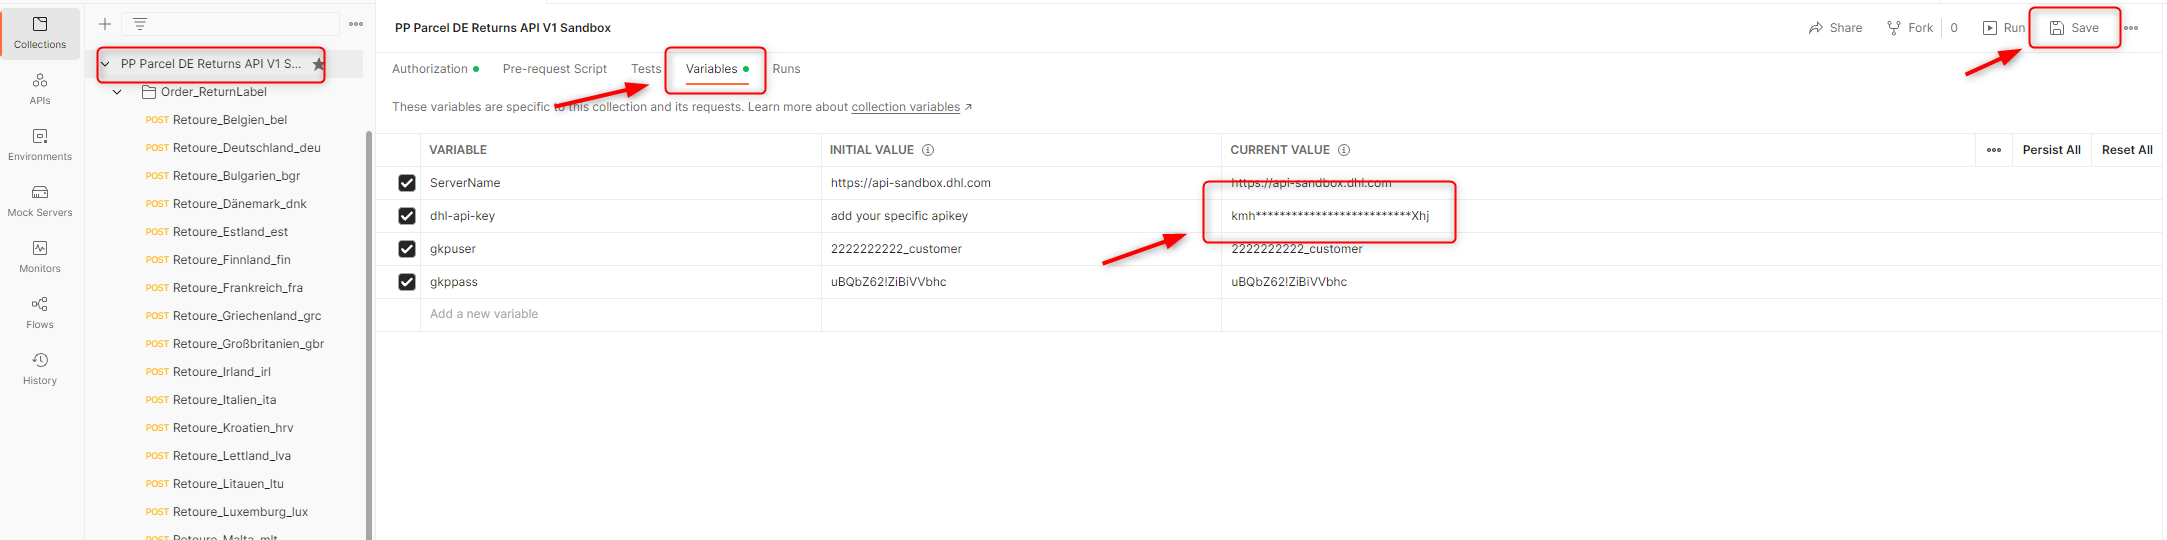
Do not forget to save the configuration.
After that your requests are functional..
4. Select a request on the left side (1) than submit this request by clicking on the tab "Send" (2). The request is transferred to the sandbox.
When you click on the tab "Body" a new window shows you the structure and the content of the request you have sent (3). If this did not happen automatically, set the drop-down menus to "Raw" and "JSON":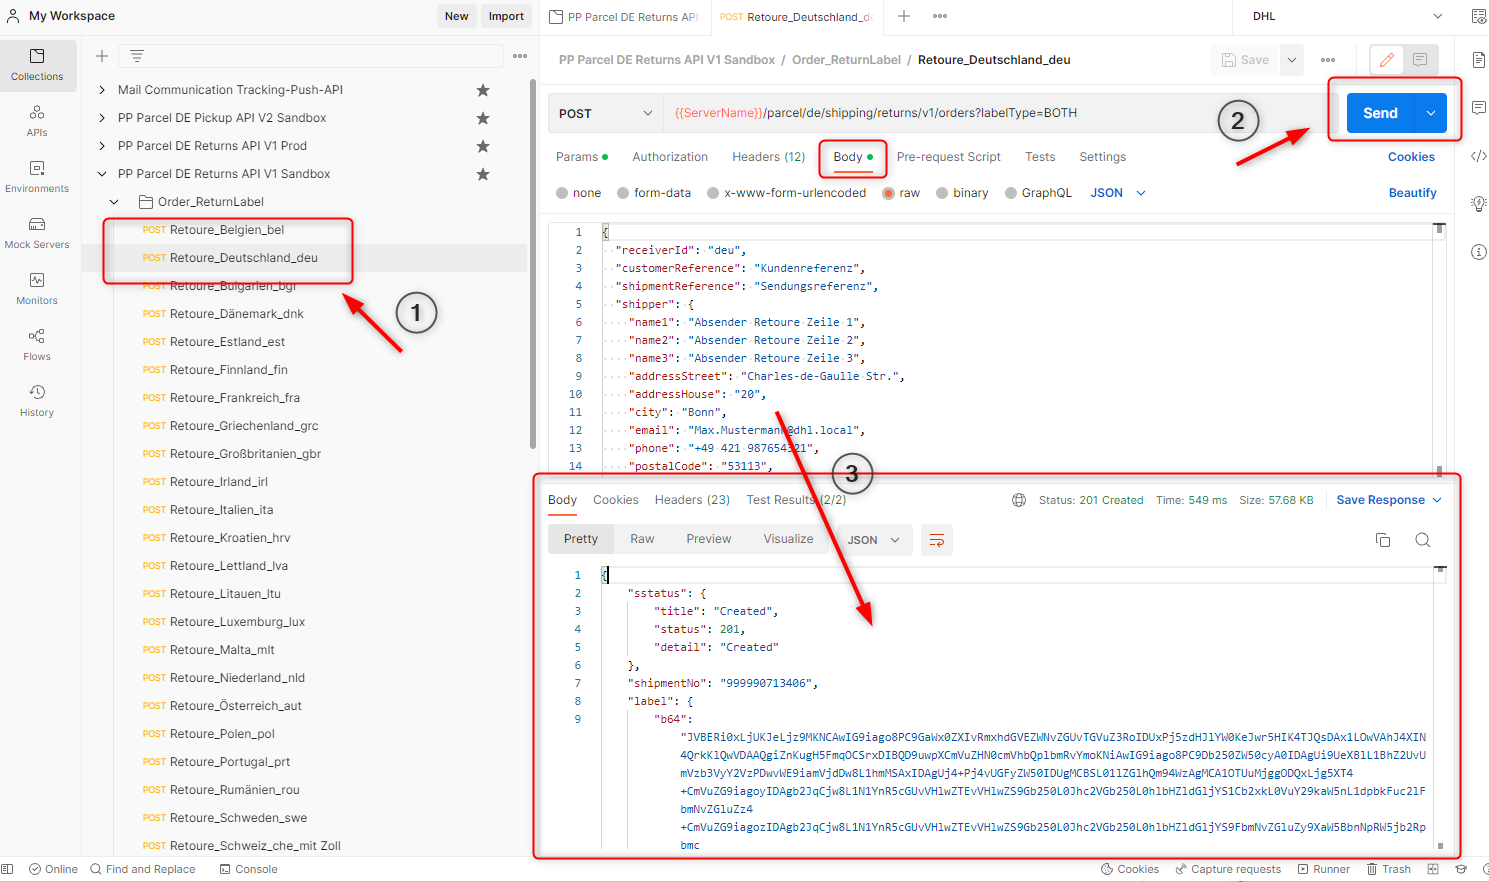
You can use this proceeding for all your collections and testcases.